Monday, November 11, 2013

Bolt Action - Top Secret Scenario

1500 pts (ish) Germans vs. USA in a game of Bolt Action, Top Secret scenario.

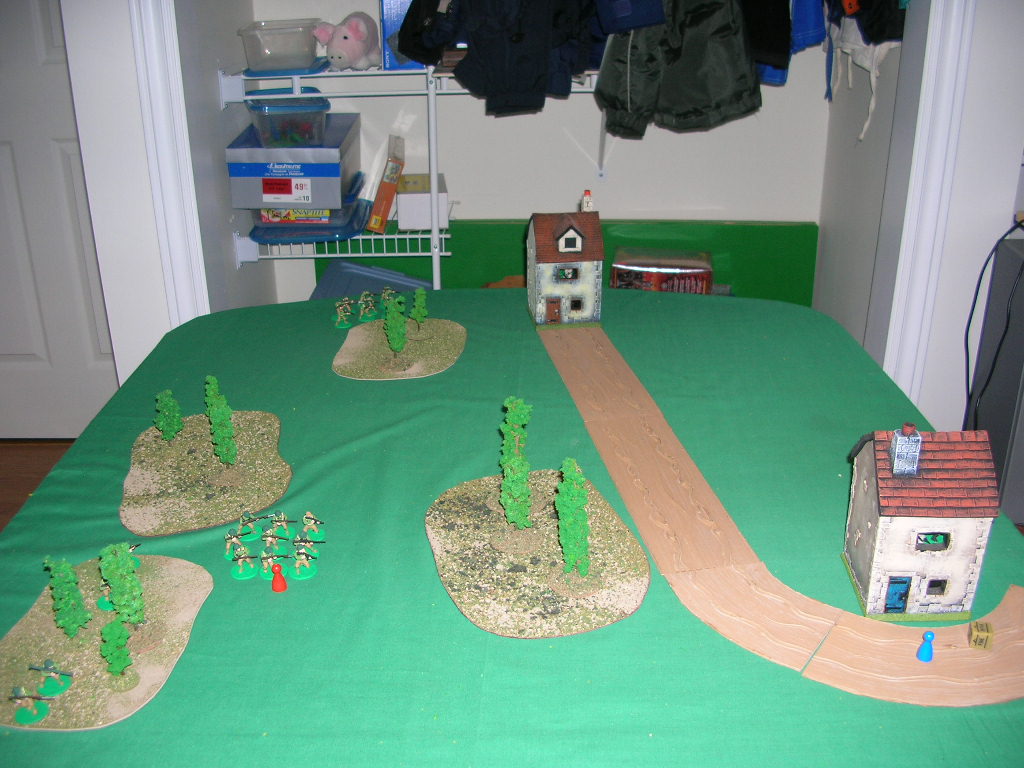
Several weeks after D-Day the French Resistance received word that a German scout plane carrying an aide with top secret documents had crashed in a wooded area some what ahead of the American advance. An American force consisting of two platoons was dispatched to the crash site immediately, only to find that the Germans were already there. A fierce battle ensued.

Germany
1. 2nd LT
2. Infantry x 10 with LMG and PF
3. Tiger
4. Infantry x 5
5. Fallschirmjager x 10, inc. 3 SMG and two Assault Rifles.
6. Pak 40 Anti-tank gun.
7. Tiger
8. 2nd LT
9. Infantry x 7
10. Infantry x 7
=1504 pts

USA
1. 1st LT plus 2 men
2. Infantry x 12
3. Infantry x 12
4. Bazooka team
5. Sniper
6. Light Mortar (never hit anything all game)
7. 57mm anti-tank gun
8. M4A3 Sherman
9. M3 half-track
10. 1st Lt + 2
11. Infantry x 12
12. Infantry x 12
13. M4A3
=1534 pts

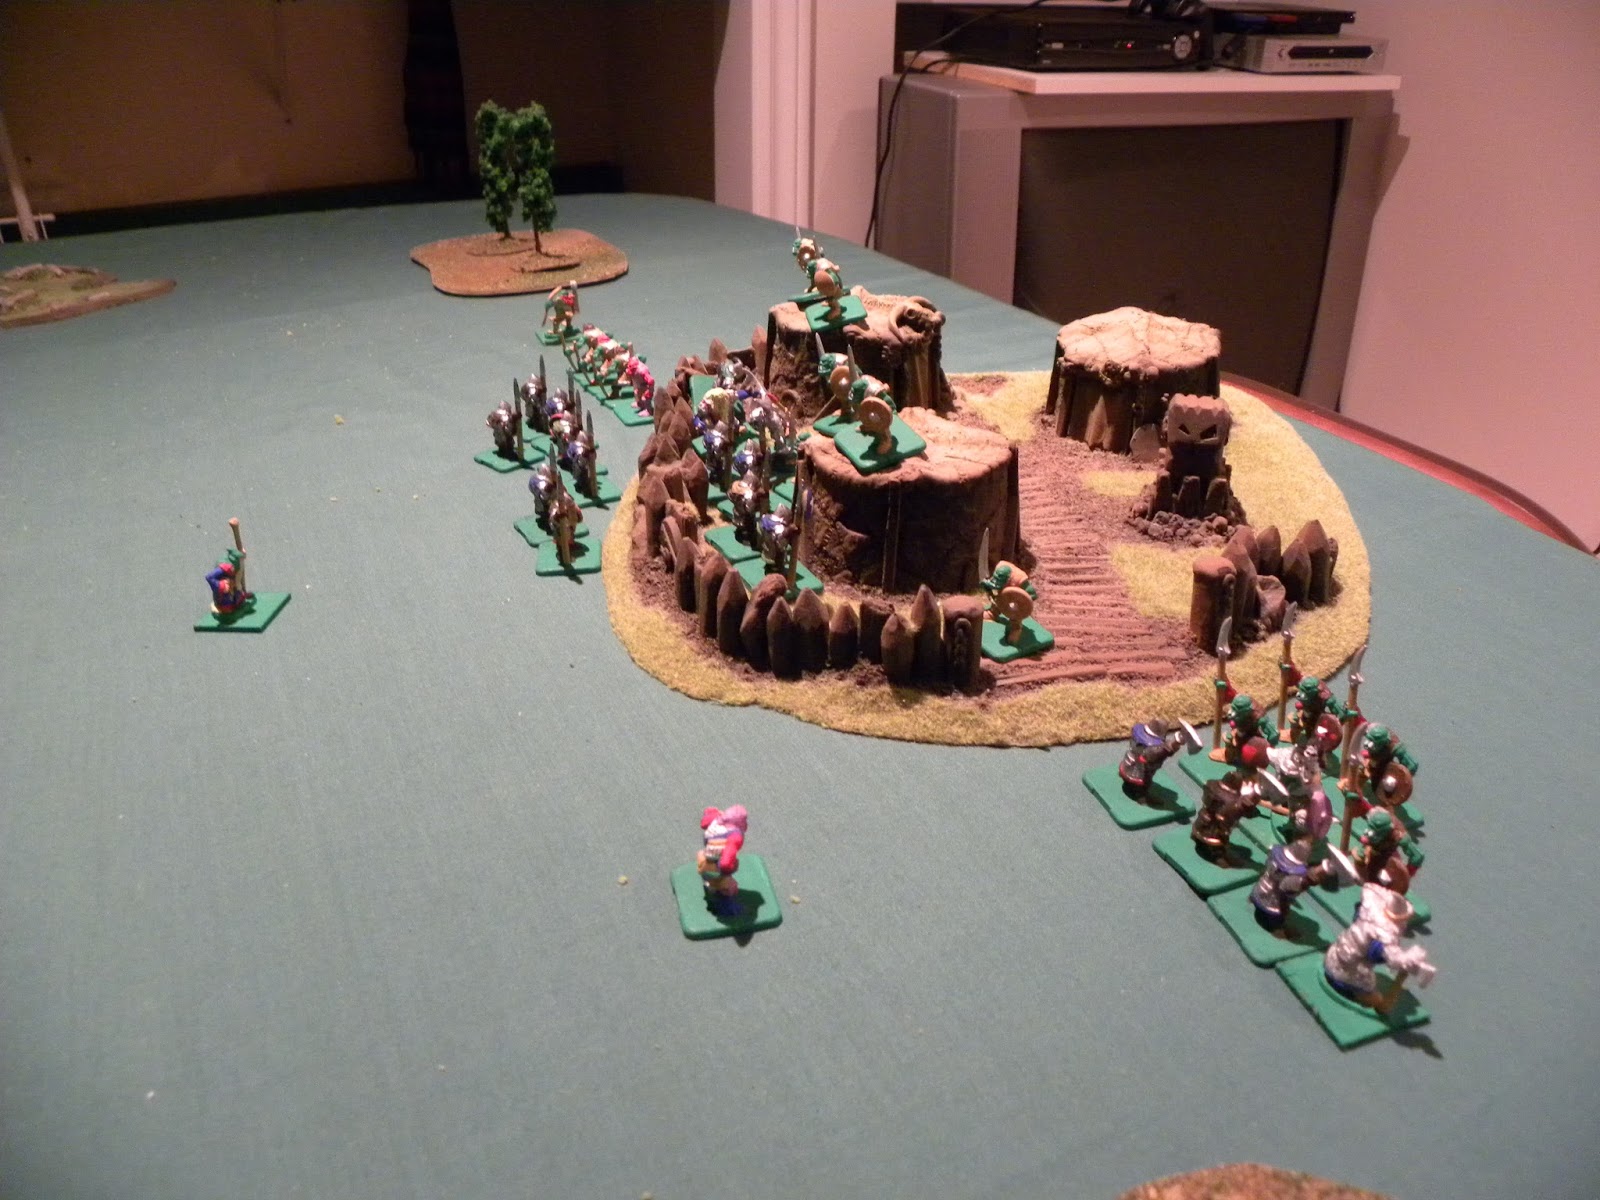
In a Top Secret scenario only one thing matters - get the objective and get it off your side of the table! The americans first drove their M3 right at the objective and prepared to unload soldiers. German units advanced, some running and some advancing more slowly with covering fire. Every unit from both sides entered in the first turn, except the Fallschirmjager who failed their roll. Embarassing for elite troops I'm sure! A large bloody melee broke out in the center with men dying from point blank fire and assaults. The American infantry got ahold of the briefcase holding the orders and just climbed into their M3 for a quick get-away, when the half-track was blown sky high by a Tiger. Both Tigers dominated the center of the battlefield, both with heavy fire and as a physical obstacle.

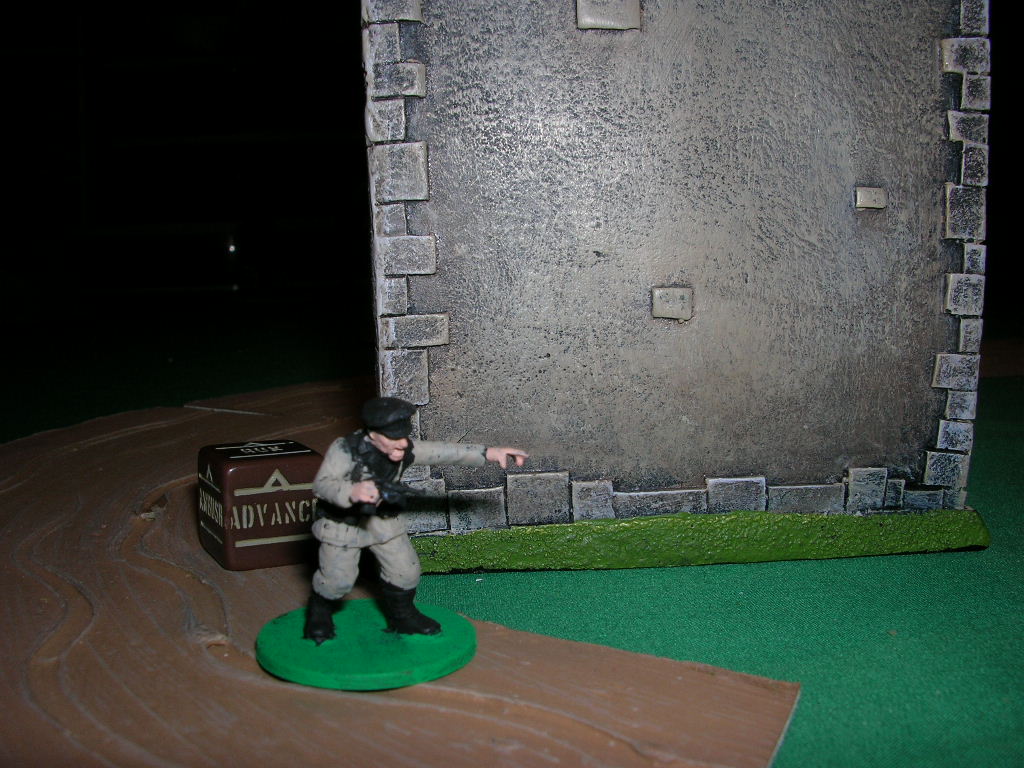
Then the Fallschirmjager finally arrived, ran up to the objective and slaughtered everyone nearby to claim it for themselves. Then began to sprint for their home lines but were wiped out to a man in a ridiculously accurate burst of rifle fire from an american squad. The objective lay unclaimed until a German second lieutenant grabbed it with the last activation of the turn. The germans then got the first activation of the next turn, and he sprinted right off the table, secret orders clutched to his chest.

Germanys secrets were secure for the moment, leaving the allies to only wonder what they missed out on.

The Tigers dominate the center.
The yank riflemen killed numerous germans. The Sherman on the
hill fired many times from his lofty perch, but scored nothing more than
pin markers on the Tigers.
Two Tigers? I wouldn't want to be those Americans.
The sneaky German leutnant scampers for safety.

Today is Rememberance day.


Sunday, June 30, 2013

Fantasy Warriors


Today I played "Fantasy Warriors", a game put out by Grenadier in the early 90's. I bought the game just recently, but I have fond memories from the early 90's of heading down to my LGS and perusing racks of Grenadier figures. Today the only LGS is a GW store, or comic book stores with a smattering of GW stuff. Thank goodness for the internet!

Fantasy Warriors comes in a big box with two armies of plastic figures, orcs and dwarves. There are three kinds of each, and special figures like standard bearers and leaders need to be converted or painted distinctly. Specials include leaders, champions, musicians and standard bearers like in WFB 3rd. There are also soothsayers, priests, generals, heroes (separate from generals) and wizards.

Fantasy Warriors has a lot of cool stuff you can do. Right at the beginning you can have your general make a boast, which gives you bonuses if he lives up to it, but penalties if he can't walk the walk. You can also have your soothsayers read the omens. What's more units can threaten other units, either making them flee or instead making them so mad they fight all the harder.

The generals job is to assign orders to the different commands. Commands cannot do whatever they like, if you want them to do something different you'll need to send a messenger with a new order - and hope your captain agrees to obey the order!

Todays game was Orcs with a mercenary command of human foot knights, against dwarves with a mercenary command of wood elf archers. Neither side paid their mercs well (resulting in lower point cost), making them more likely to run, or even betray their employer.

Orcs: Warchief Lvl 4, Battle Leader Lvl 3, Wizard 50 spell points, Juggernaut (huge monster), 10 archers, 8 veteran archers, 12 swords, 12 spears and two units of 15 human foot knights, paid only half their wages.

Dwarves: Warchief lvl 5, battle leader lvl 4, 12 axes, 10 x-bows, 10 spears, 1 hero, giant cannon and 20 half-paid wood elf archers.

The orcs from left: Warriors, warriors, extremely heavy Juggernaut,
archers, veteran archers, merc foot knights and more merc foot knights.


The dwarves from left: Wood elf archers, x-bows, spears, axes and cannon.

To start things off with a bang, the dwarven cannon blasted the smithereens out of the juggernaut, thus eliminating the largest threat in one blow. The dwarf cannon has a neat rule: you can overload the cannon with extra powder and shot for more damage, at the risk of an explosion that kills everything in 12" - I've had it take out a good chunk of my army once! But this time it behaved. The orc wizard cast eldritch command - a spell that magically transmits orders from the general immediately to a commander, without the need for sending a messenger. The best spell in the game sometimes! But the wizard had no luck, casting it three times before he could order the foot knights to advance. It cost him half his power. In Fantasy warriors a wizard can cast spells any time, as often as he likes...until he runs out of magic power.

The orcs and men continued to advance for several turns. The cannon eventually destroyed a unit of orcs, while the elves long bows made little impression on the foot knights heavy armour. Dwarf crossbows had better luck on orc archers. Two separate orc units charged the cannon crew, and each was defeated separately thanks to the dwarven hero stationed in that unit. The foot knights waded through the hail of arrows from the elves, then slaughtered the entire unit and its commander. This caused a command test from the dwarves which all remaining commands passed smoothly. 

The orc wizard used his remaining power to attempt to kill the dwarven hero, but overstretched and killed himself instead. This caused the orcs to take a command test. The warchief held on, the battleleader fled, but worst of all the foot knights failed badly. The orcs had taken many causalties, and the foot knights were already upset at being underpaid so a few bad rolls later, the knights defected and joined the dwarves. This left the orc warchief completely alone on the battlefield, and the game over.

Never underpay your mercenaries.
The orc warlord all alone.

A fun game, good to pass away a grey day. I think Fantasy Warriors would work much better with truly huge armies with lots of different commands and captains. However, that would take up a lot of space and result in a very long game.

Thanks for reading!

The dog sulks after his orc army loses.


Thursday, June 27, 2013

Prince August Fantasy Rules

The Prince August Fantasy Rules are a short and simple set of rules included in an old catalog from the Prince August miniatures company. I obtained them from http://www.freewargamesrules.co.uk/
I felt like trying something new, and these rules from the 80's are new to me and old school as well. The rules have a 1:10 figure scale, where 1 figure represents 10 men. Causalties are tracked by the man, and when ten are received a figure is removed with any extras carried over. It's like in the WRG rules and I am a sucker for this type of system.

Spring, Year 1001

Gnash the Orc Warlord leads the attack against the hated Dwarves in their Lonely Tower that marks the outskirts of their territory. Orcs don't really need an excuse do they?

Orcs: Gnash, 4 Leadership Points (LPs). Zlent the wizard, 4 Power Points (PPs). 100 archers, 100 swordsmen, 100 spears, and 40 elite Batkiller archers.

The Dwarves of Karak Dum: Harbrom, general, 4LP. Wissen the Wizard, 4 PP. 100 x-bows, 100 axes, cannon.

The doughty dwarves defended successfully and out fought the orcs until they ran away. Zlent the orc wizard used magic to detonate the cannons powder store, destroying the cannon in the process. Wissen the dwarf wizard blasted several orcs, turning the tide of a melee.

Causalties Orcs: 80 dead archers, 28 swords, 20 dead spears, 28 dead batkillers.
Dwarves: 81 x-bows, 36 axes, cannon destroyed.

Summer Year 1001

The Dwarves followed up their victory with an offensive into the orc lands. Harbrom lead his dwarves to the orcish village of Zaragest where the orcs made a stand. Since the last battle the dwarves received some reinforments, but so did the orcs as they are now in their own territory.

Dwarves: Harbrom and Wissen plus Dernhelm LP 3 and Axehelm LP 3. 11 x-bows, 64 axes, 150 spearmen.

Orcs: Gnash and Zlent, plus Zargoth LP 3 and Trug the Wizard PP 4. 30 archers, 90 swordsmen, 80 spearmen, 12 batkillers and Orgog the Giant.

Harbrom lead a successful assault against Zaragest. The Dwarves killed the giant with crossbows, and were victorious in melee as well. The two orc wizards were unsuccessful in multiple attempts to control the minds of the dwarven captains, but Wissen managed to take over Gnash's mind, forcing him to rout his orc warriors right out of the village. The dwarves then took the village with no further opposition.

Near the end. In the foreground dwarves push bask orc spearmen, in the center
foreground is Trug the Wizard, angry that he can't control Axehelms mind. Dwarves
fight orcs in the village.
Another view near the end. The dwarven spear warriors push the orcs
right out of their defensive position. It helps when the mind-dominated
general is ordering the orcs to retreat!
Causalties: Orcs 0 archers, 2 batkillers, 28 swords, 45 spears and the giant. 76 total causalties. The dwarves: 7 x-bows, 37 axes, 35 spears. 79 total. A pyrrhic victory for the dwarves.

Notes: I think I like these rules. Very simple, but I like how magic and mind domination works, even with very weak wizards. And of course I love the casualty removal, book keeping and all. Helps immerse yourself knowing exactly how many guys you have.

Wednesday, February 20, 2013

A German quickie.

Those dastardly Germans are at it again, with all their standard conquering the world and grinding freedom under their jack boots. Buggers. A 1000 pts Bolt Action battle.

1000 pts Point Defence, Americans attacking.

German army
1. 1st LT and 2 men.
2. Major and 2 men.
3. Tiger!
4. Pak 40 anti tank gun.
5. Sdkfz 251 half-track.
6. 5 men with MG42.
7. 5 men with MG42.

American army
1. 1st LT and 2 men.
2. 12 men.
3. 12 men.
4. .30cal MMG.
5. Bazooka team.
6. M4A3 Sherman tank.
7. M3 Halftrack.
8. 57mm anti tank gun.
9. 12 men.

Southern German unit guarding an objective. Copious amounts of pin markers
due to pre-battle artillery. 

Turn 1: Prepatory bombardment spreads pin markers across the German army, luckily half the army was kept in reserve. A 12 man yankee squad shoots up a german squad, killing 3 out of 5 men, including the MG42. The American halftrack races towards the Pak 40 but is destroyed, losing 2 men from the squad it carried.

Turn 2: Two US squads fire at the Pak 40, it's shield preventing all but 1 hit from killing. The German major is killed by rifle fire. The Sherman immobilizes the Tiger.
Turn 2, after most of the Germans have arrived from the left.

Turn 3: The last Germans guarding the southern objective are killed, leaving it wide open. Two large american squads approach the Pak 40.

Turn 4: American riflemen shoot the Pak 40 from the flank, obliterating it and capturing the northern objective. Another American squad is within a stones throw of the southern objective. With the German major dead, the german 1st LT is left in charge. He has only a disabled tank, an empty half track and his own two lackeys. The Americans have lost several men, but no squads and so are almost at full strength. The German LT wisely decides to call it a day and retreats. A very quick loss for the Germans.

The end of the game. All the German units are in the upper left, while
an awful lot of American firepower is trained on them. Can't beat
the fires of freedom, Fritz!

Thoughts: That game was too quick! The Germans wasted points on their Major that should have gone to more riflemen. The Pak40 was wasted as it faced only infantry. The Tiger did very little with its main gun or machine guns. It was being fired on by a bazooka, Sherman and 57mm which meant lots of pin markers and few successful orders. The Americans had a much larger army and easily took two objectives, simply ignoring the Tiger in the center. A good day for the yanks.

P.S. 50 posts! Thanks for reading!

Tuesday, January 29, 2013

Back to Bolt Action

So my last post was about Terry Wise's WWII rules, some of the earliest ever published. So let's bounce back to the present and play Bolt Action, the newest WWII game.

The scenario is maximum attrition - wipe out as many of the enemy as possible. Not really a scenario at all, but still fun.

Germany:
Oberleutnant and 2 men
Pak 40 AT gun
Tiger!
3 squads, each of 8 men including an MG42 LMG.
= 900 points

USA:
1st LT and 2 men
57mm AT gun
M4A3 Sherman tank
Bazooka Team
Two .30 cal MG teams
3 squads of 10 men
= 898 points

Turn 1: Both armies start moving on to the table, exchanging some gun fire. The Sherman blasts away the Pak 40 in one shot - one less thing for him to worry about!

Two forests, two intact buildings and two ruined ones. The first
squad on the scene is the americans at right running for the house - a
strong position they'll occupy for the rest of the game.
Turn 2: More gunfire. The bazooka team gets cocky and tries to take out the Tiger, but gets wasted by a hail of MG fire for their trouble.

The scene at the end of Turn 2. Some pin markers on the americans
near the forest.

Turn 3: The 57mm AT gun and the Sherman both have a chance to shoot at the Tigers side armour and both miss. The Tiger fires back and misses as well. In fact, the Tiger crew misses every shot this game except for their MG fire against the bazooka team! The Wehrmacht needs to train these guys better. The US infantry unit in the center takes heavy causalties.

Turn 4: The German unit in their forest takes severe rifle fire and breaks. The beleaguered US infantry in the center is completely wiped out by rifles and MG42.

Turn 5: The US manage to kill the Oberleutnant and his men.

Nearing the end; things have started to thin out a bit. The left house is
full of Germans, the right full of Americans. The germans are very much
pinned.

Turn 6: Combined shooting from many american units wipes out another german unit, leaving only the Tiger and the Germans pinned in the house remaining.

Turn 7: The Tiger tank has several pin markers from being hit, but never damaged by both the Sherman and 57mm AT gun. It is able to do nothing in the final turn. The allies pour most of their fire against the German held building, coming within one pin marker of breaking them.

The End: The Americans destroyed 4 units to the Germans 2. Two points is the minimum needed to score a win, so the Americans are victorious.

The Germans in the building are so pinned they are next to helpless.
The Tiger in the background is in the same boat.

Terry Wise vs. Bolt Action

These two games could not be more different. Terry Wise's rules are a few pages long and only cover the most common situations. Bolt Action rules fill a whole book, with plenty of beautiful pictures and artwork, and the rules are extensive enough to cover just about everything, and are very tournament ready. You could never play Terry Wise competitively.

Bolt action is oriented to winning your battle at all costs, throwing your men away to reach your goal is expected. Terry Wise works better as part of a campaign. You get points for troops that survive, so throwing them away needlessly is pointless. Terry Wise even suggests ending the game after one side has retreated off the board. This changes your strategy a lot. Should I commit my reserves and gamble on a win, or fight more conservatively, living to fight another day? It's a whole different mindset.

Which is better? Up to you of course. Bolt Action is a fun game that doesn't need a ton of figures. Terry Wise's rules work better with lots of figures and can only work if played in a co-operative spirit. I'll keep playing both.


Saturday, January 26, 2013

Terry Wise WWII rules

Back to old-school wargaming. Playing modern games like Bolt Action is fun, but so is going back to the very root of the hobby. Terry Wise "Introduction to Battle Gaming" was one of the first wargaming books ever and got a lot of grognards into the hobby. And several decades later the rules are still fun.

This is a world war II battle. The Americans have been tasked with taking a German village that dominates an important crossroads.

The Germans: 1 company of 3 platoons. Each platoon has 10 men including an SMG, MG42 and a panzerfaust. They have one officer, a tiger tank and a pak 40 AT gun.

The Americans: 1 company of 3 platoons. Each platoon has 10 men including an SMG and a bazooka, except for third platoon which has no bazooka. There is also a heavy weapons platoon of 2 MG's. A sherman tank, 6 pounder anti-tank gun and 3 officers round out the assault force.

The village and its german defenders. Two intact buildings on the left, two ruined on
the right. German platoons in each intact building and the foremost ruined one. A tiger
stalks behind the village, with a Pak 40 in the forest in the distance. The americans will
enter from the right.

The Pak 40 awaits its prey, the Tiger waits in reserve.
Turn 1: An american platoon takes the hill, the other 2 platoons take the right most forest. The six pounder approaches from the far side of the hill. No one is in range to shoot.

Turn 2: The Sherman arrives and drives straight towards the center of town. All other americans advance. The Tiger fires at the Sherman, but misses.

The Americans advancing.
Turn 3: The Sherman blasts five Germans in the ruined building, riflemen kill 3 more, but return fire kills 3 americans.

Turn 4: The Germans in the ruined building are wiped out, but manage to kill 2 yanks first. The Tiger hits the Sherman, blasting its treads and leaving it sitting in place.

Turn 5: The 6 pounder destroys the Pak 40. The Germans in one of the buildings kill 2 Americans, taking 2 causalties in return.

Turn 6: The Tiger kills six more Americans, with the Germans in the adjacent building killing 2 more. 

Turn 7: The Tiger kills 4 more americans. 


The Americans killed most  of the Germans in the building across the road,
but then the Tiger arrived and nearly killed all of them, leaving only these
two behind.
Turn 8: The Americans needed only another kill or two on the Germans to force a retreat, but their advance was completely out of steam. They had almost no firepower in range of the German positions, their Sherman couldn't move, and the Tiger with its long range cannon was slaughtering them. The Captain called a retreat. 4 more Americans were killed by the Tiger, but the bazooka men stayed behind to try and hold off the Tiger long enough for their comrades to escape.

Turn 9: The Americans start to flee the table.
Fleeing Americans. The Tiger can be seen in the distance, poking its cannon
around the edge of the building, killing stragglers.
Turn 10: The Tiger kills one bazooka man.

Turn 11: The Tiger continued to pursue, killing one more man.

Turn 12: The surviving Americans escape as well as their six pounder. The last remaining Bazooka man surrenders.

Time to add up the points! In Terry Wise's rules you get points for your troops which survived.

Americans:
11 points for surviving soldiers
1/2 point for their bazooka man taken prisoner
5 points for their remaining machine gun
10 points for their anti-tank gun
= 26.5 points.

Germans:
50 points for winning the game
13 points for survivors
1/2 point for their prisoner
15 points for the Tiger
5 points for capturing the damaged Sherman
= 83.5 points

Thoughts: A fun game! Nothing at all like Bolt Action, but still fun. I would like to use Terry Wise's generic army organization diagram, so I need 2 more companies (six more platoons) of infantry to make a full regiment. I also need some troop transports to ferry my guys around quicker. I look forward to playing this again, once I have more figures painted.

Sunday, January 13, 2013

The Battle of Pont D'Eclair - WWII

The Americans and Germans met each other across opposite sides of the bridge of the little french village of Pont D'Eclair. A good excuse for a battle!

Americans
1st LT + 2 extra men
M4A3 Sherman tank (my new toy!)
Two MMG teams
7 men + BAR
6 men + BAR
=600 points

Germans
Oberleutnant
Panzer II x 2
6 men with 2 LMG and 1 Panzer Faust
2 squads of 6 men with LMG and Anti-tank grenades
=594 points

The scenario is Maximum Attrition: destroy as many units as you can! Simple enough.

Things started off bad for the americans and then just got worse. They advanced an MMG team, which quickly got blown away by MG42's. One squad got a ton of pin markers and broke. The LT and his men were picked off by german rifle and MG42 fire, as was the other MMG team. A total cluster fudge.

The view on turn 4. Masses of germans to the east, while the yanks have
a few men scattered in the woods, hunkered down in the dirt.

The American Sherman M4A3 peeks around the corner of a building.
It's not scared of the Panzer II's, but it knows a Panzer Faust is nearby.
The last american squad is killed - only the Sherman remains.
Germans in the ruins, advancing across the river, two Panzer II's and more
Germans off camera to the right.

The Sherman advances towards the bridge, looking to shoot a panzer.
A german armed with Panzer Faust fires out the window and hits...
but fails to penetrate.

In the end, the Sherman turned around and left, after almost complete slaughter of his platoon. Not only that, but the americans didn't destroy a single german unit! A completely one sided battle. Maybe next time guys.


Wednesday, January 2, 2013

Blow up the Base

A Demolition scenario for Bolt Action. Each side must get a unit in contact with their enemies Company HQ, set charges and blow it up.

USA
1. 2nd LT and 1 man
2. Bazooka Team
3. Sniper Team
4. 5 Veterans with Anti-tank grenades, an SMG and Browning Automatic Rifle
5 and 6: As 4.
=449 points

Germany
1. Leutnant and 2 men
2. 5 man squad with rifles
3. 5 man squad with rifles
4,5 and 6: Panzer II with inexperienced crews.
=446 points

Overview of the battlefield. The german base is the
building in the lower right, the american is the other
building in the upper left.

The american bazooka team hides behind their base.

The Bazooka team leaps and fires at the Panzer II in the
distance - but misses.

Two American squads advance.

The bazooka team destroys a panzer.

Two more Panzer II's arrive.

A german unit is wiped out as americans close in on their base.

Americans reach the german base, set their demolition charges
and blow its roof right off.

Panzer 115 advances over the bridge, heading for the american
base.

Panzer 115 approaches within point-blank range of the
american bazooka man - the only american with a
reasonable chance of hitting him - and blows him away
with his MMG.

The last american squad between panzer 115 and the american base
launches a desperate assault, but its hopeless.

The american base is blown apart.

Aftermath: Both armies destroyed the others company HQ so this game is a draw. I like the variety of scenarios in Bolt Action, though they are designed for 1000 pt armies they still work fairly well with games of half that size. See ya!

Tuesday, January 1, 2013

Point Defence

Another game of Bolt Action, time to try the Point Defence scenario.

400 Points
USA (The attackers)
2nd LT and 2 men
Bazooka team
Squad A: 10 men, 2 SMG and 1 BAR + tank grenades
Squad B: As A

Germany
Leutnant and 2 men
Panzer II
Squad 1: 7 men with two MG42's
Squad 2: 6 men with 1 MG42

The USA must control at least 2 objectives by the end of the game.

The objectives are: North Building, East Building and southern forest.
The Germans deploy a squad in both buildings, the Leutnant went in the southern forest and the Panzer II was in reserve.

The American prepatory bombardment causes a variety of pin markers and killed one of the leutnant's men.

Turn 1: American squad A rushes at north building while squad B heads for the eastern one. The Americans are helped that neither building has any windows opening on to their side of the table (The left or west).
The Americans rush east.

Turn 2: Squad A assaults north building. 3 are killed by German fire as they charge in. In the ensuing assault 2 yanks are killed, but the germans are slaughtered and the first objective is now in the hands of the usa.

Who's at the door? I'll tell those bloody Jehovahs Witness to get lost!
Turn 3: After failing it's reserve move before, the Panzer II arrives between east building and the southern forest. The bazooka team licks its chops in anticipation - and blasts the panzers tracks, immobilizing it.

Turn 4: The bazooka fires at the panzer again, this time starting a fire but the well-disciplined crew quickly puts it out. The Germans in the eastern building fire at the americans in the northern building with 2 MG42's and rifles. Two americans die.

Turn 5: The bazooka hits the panzer again, further damaging the treads. American Squad B assaults the eastern building from the building windowless blind side. However the germans had ambush orders - but fail to kill a single american! In the assault the deadly american submachine guns make short work of Jerry, thus securing the second objective and looking like an early american win - but Fritz has a trick left up his sleeve.

Turn 6: The Bazooka fires at the panzer yet again, finally blowing it sky-high. Only a single german remains - the Leutnant. He runs out of LOS of all American units right behind the building. This is enough to contest control of the objective, meaning that if the game ended right now the americans would be robbed or their win - but the roll for another turn comes up positive and the americans get another chance at victory.
This cheeky Leutnant almost steals the americans thunder all by himself. 

Turn 7: Squad B rushed out of their building and easily takes the sneaky Leutnant prisoner. The US controls 2 of 3 objectives and scores a victory.

A fun game that hinged on the single dieroll to see if their would be another turn for the americans to take out the last german. Happy new year!